What is a fuel sender?
In the automotive world, the fuel sender (or sending unit) is the part that measures the fuel level inside the tank. If your car shows the wrong fuel level, the sender may be faulty and you might need to replace it.
How did I know the sender was broken?
For a while now, the fuel gauge needle on the Seat 850 had been reading incorrectly, so I already suspected the sender was starting to fail. However, the final straw was a blockage in the fuel supply line coming out of the sender, which caused the car to stall from lack of fuel. I decided to take it apart, and what I found… it’s better if I just show you.
Removal process
To remove the fuel sender from a Seat 850, you first need to make sure of a few things:
- Check the fuel level: it must be below half a tank. If you have too much fuel, you’ll need to drain some.
- You’ll need a ratchet with a size 7 socket: If you don’t have a ratchet, you can use box wrenches.
- Take photos: make sure to photograph all the connections so you can put everything back exactly as it was when you finish.
When you’re ready to begin, locate the plastic cover over the sender. It’s in the engine bay, on the left-hand side:
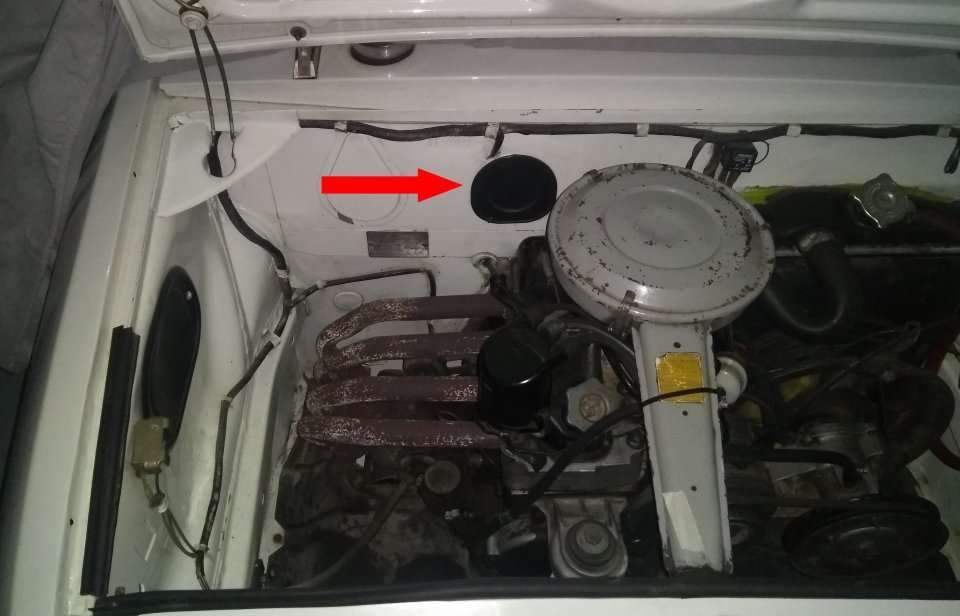
Underneath you’ll find something like this:
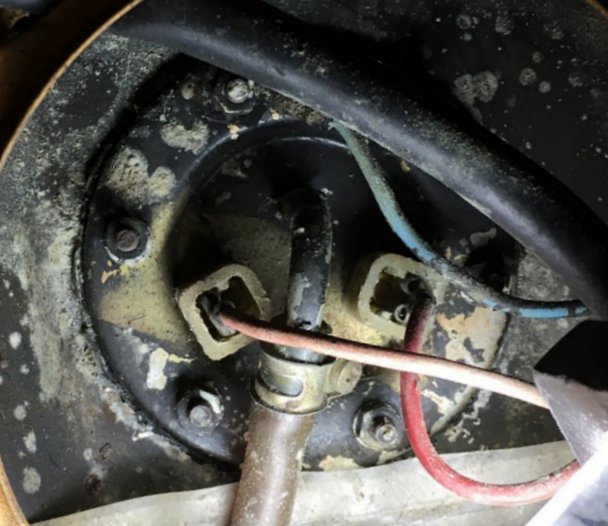
Now, follow these steps:
- Loosen the clamp on the fuel line and remove the line.
- Disconnect the two wires: the fuel level wire (orange) and the reserve light wire (red).
- Undo the six nuts and don’t lose them.
- Remove the sender by pulling on it carefully.
This is what I found when I removed the sender:
| Sender full of rust | More rust |
|---|---|
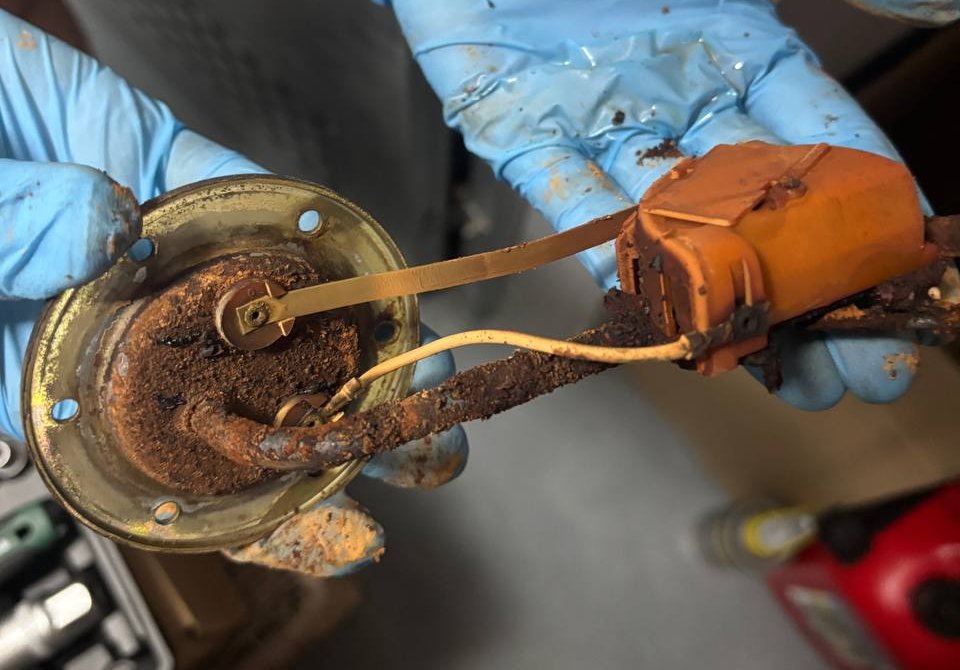 |
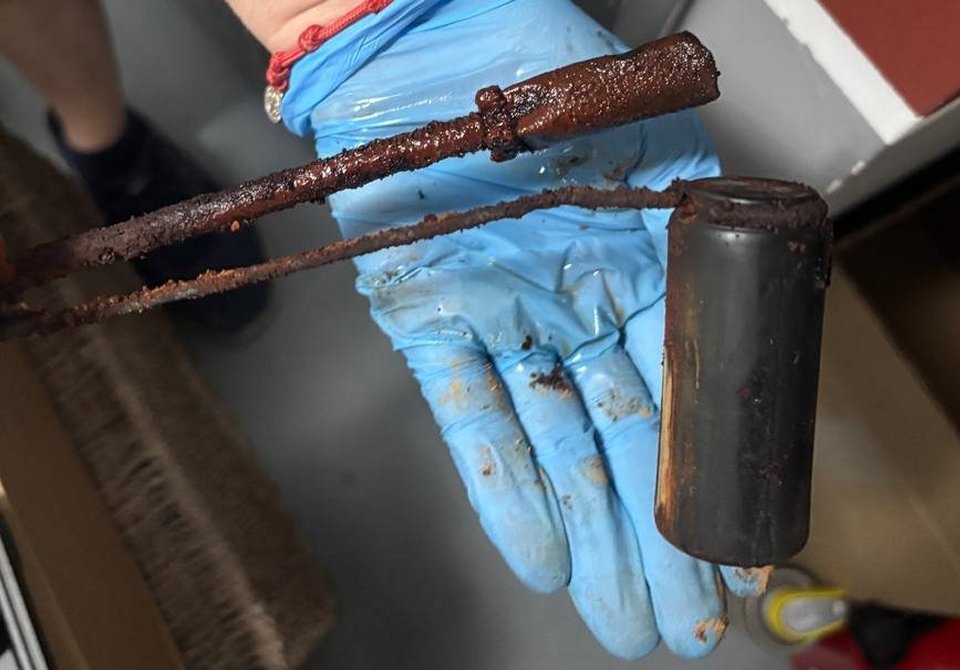 |
Now it’s time to clean the sender. For this I used an old scouring pad to remove the rust. Here you can see the before and after:
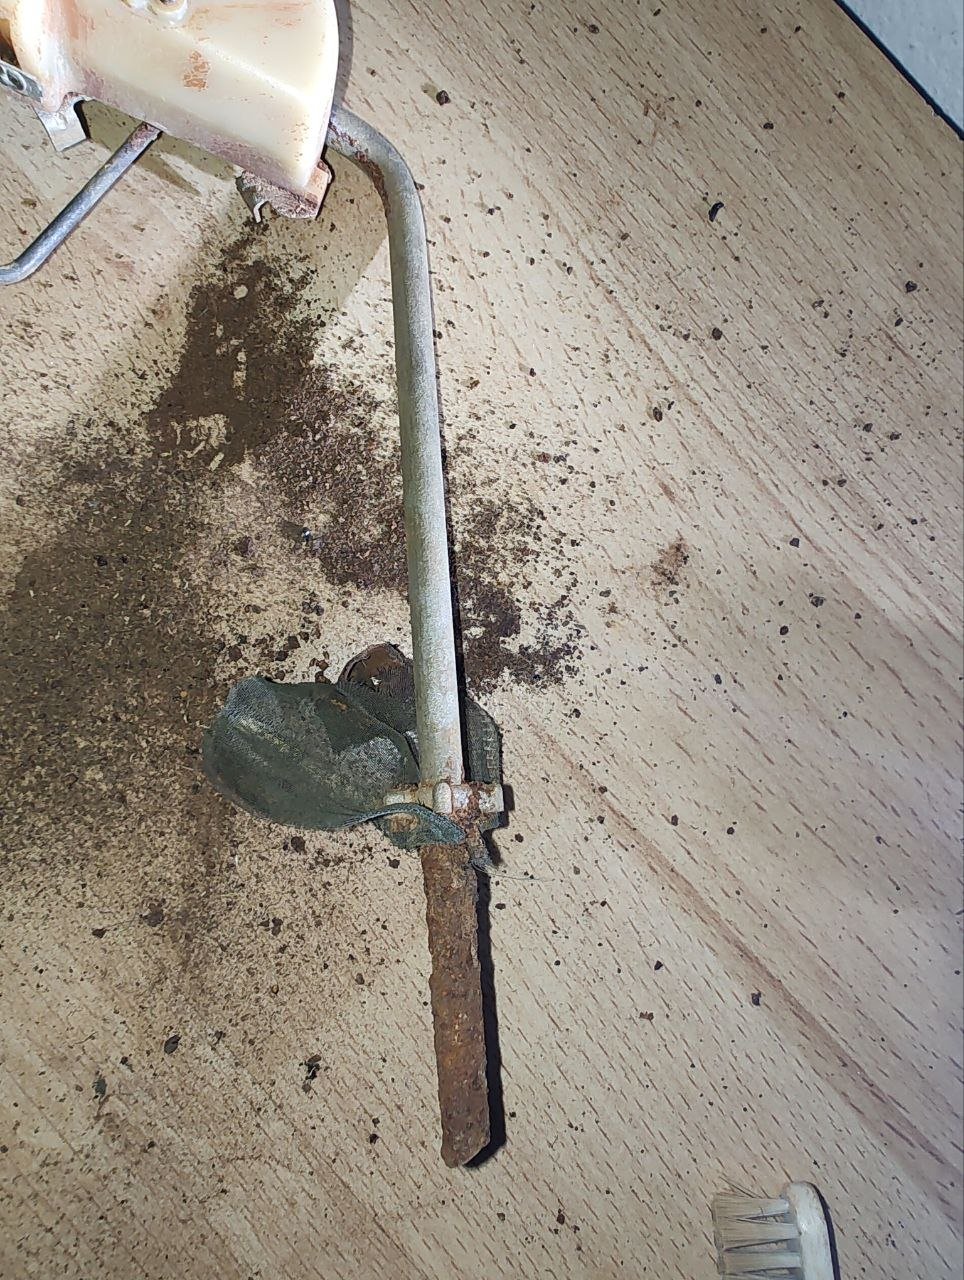
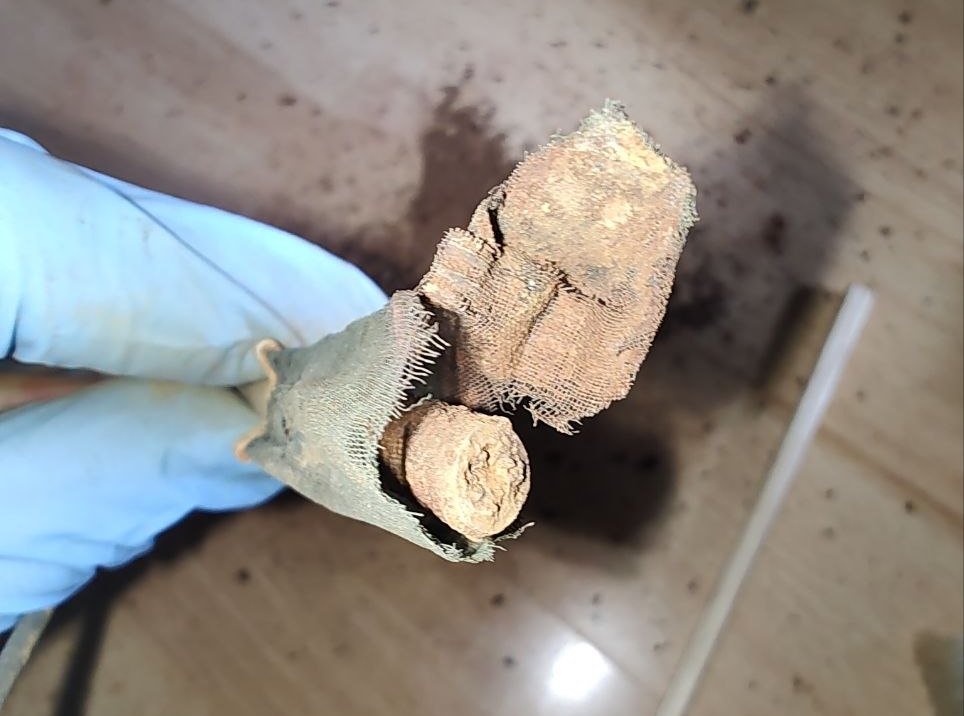
Once I removed the mesh filter, which was broken, I found the cause of the blockage:
With the help of an awl, I was able to break up the clog:
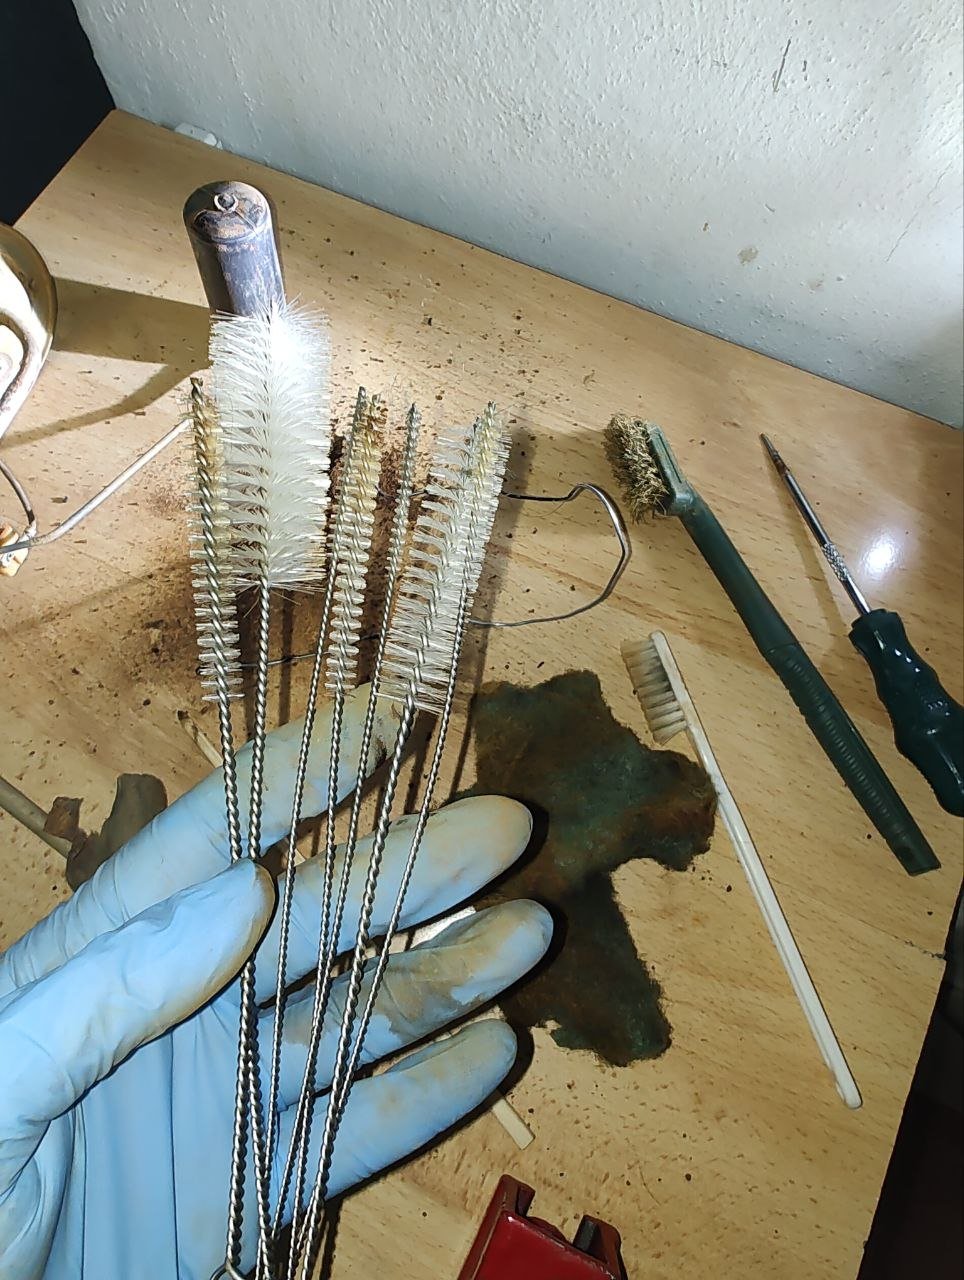
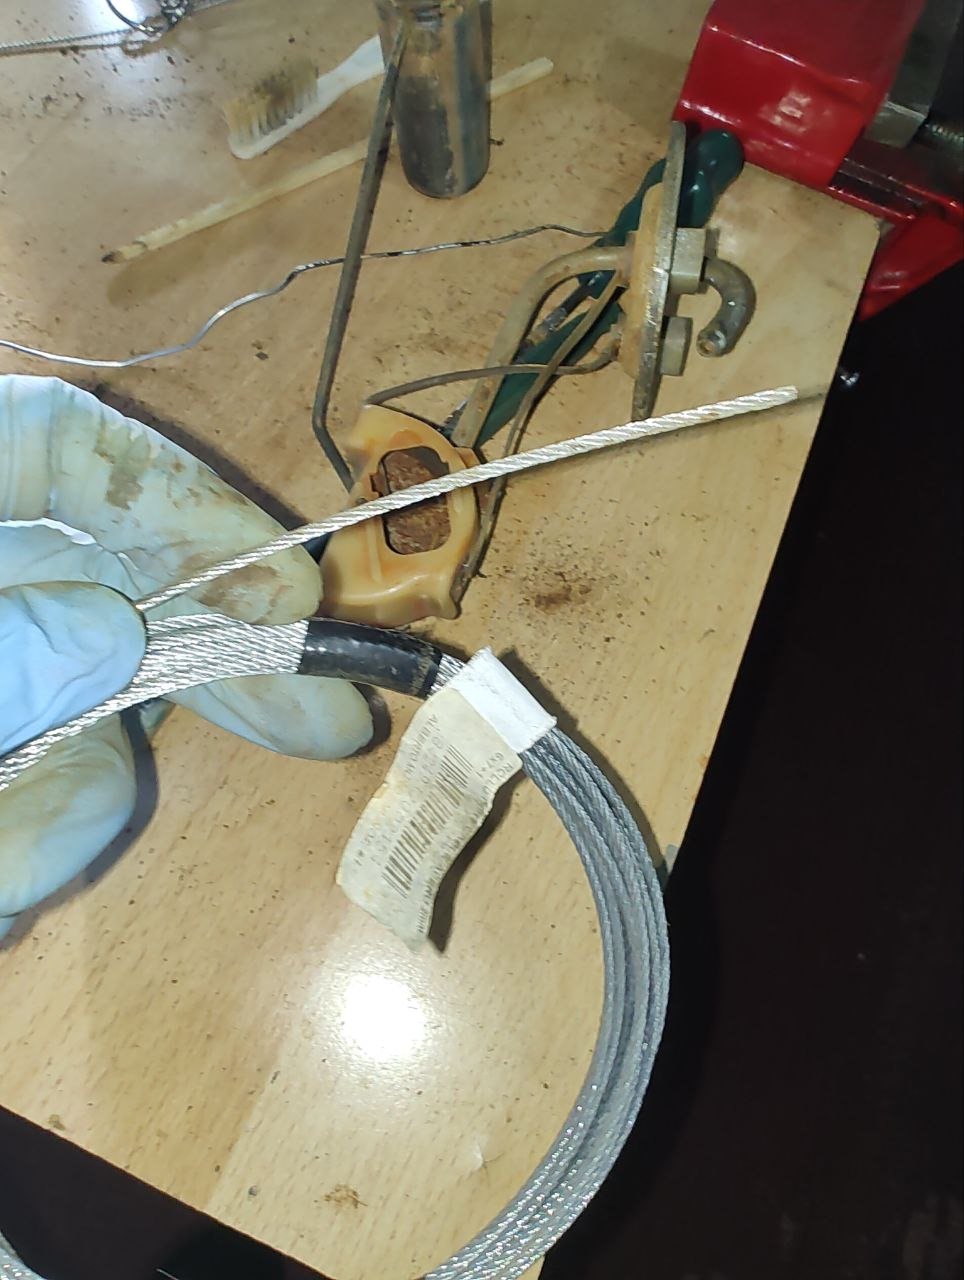
And finally, using cleaning brushes and a steel wire, I cleaned the whole inside of the tube until the obstruction was completely gone:
And with that, the sender is ready to be reinstalled in the car. All that’s left is to replace the filter mesh with a new one, but for now it will stay as it is until I get one.
I hope this information has been helpful.
See you in the next tutorial!